Grade Six Information and Design Technology
Building
a Model Motorboat
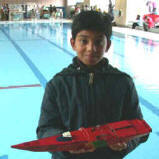
Introduction
Man
has used boats for thousands of years. They have been used for fighting,
trading, exploring, fishing and as a means of transport across rivers and
oceans. Each boat design has evolved over eons of time until it has become the
best suited for the task required of it.
Different boats have different purposes. Some
boats for example are designed to travel quickly, some are made to be very
stable in the water and others are intended to carry large and heavy loads.
Some are built for fun and others are meant for work.
The
Challenge
Your
task for this unit of Design Technology is to investigate, plan, and create a
working model motorboat which will suit a purpose you have chosen. When
your boat is finished you will evaluate it and the process you went through to
achieve it. You will keep a Project
Journal of the
process you go through and you will add to your journal regularly.
Before you go much further with this project you must begin your project journal. Before
your next class you must have a small notebook to use as your IDT Project
Journal.
You will also need to create a new folder called IDT in your student
account on NAS01 - You can create this folder now.
INVESTIGATE
Do
some research on the internet on boats.
Look at modern boats and examine some history by looking at boats that
have been used by man over the ages. Save
anything you find interesting into your DT folder, web pages, text, photographs, diagrams,
design ideas. Look at a variety of hull types, mono-hulls, catamarans and other
multi-hulled vessels, flat bottom boats, boats with keels.
Investigation Task 1:
Click
here and save this
file to your IDT folder. After it is saved, open the file and complete the
activity.
The next step in this challenge is to decide on the expected use of your boat.
It is this use of your boat which will determine the style of your
design. For example if you want to
design a boat to carry a very heavy load it will look and perform quite
differently from a racing boat built for speed. Collect information,
text and graphics and save them into your DT folder, you will need these for
your designs and your journal.
Here's
a link to get you started:
The
Mother of All Maritime Links
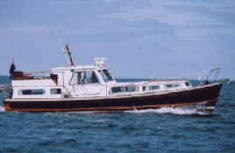
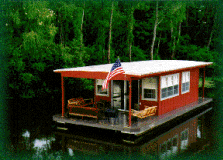
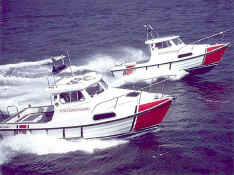
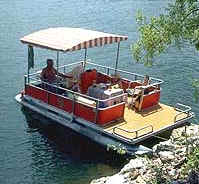
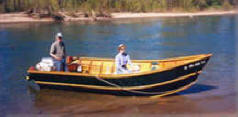
Here are some examples of different motor boat Ideas.
|
 |
 |
|
A
classic Motorcruiser |
A
Houseboat |
 |
 |
| A
Patrol Boat |
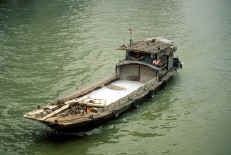
A
Chinese Cargo Boat |
 |
 |
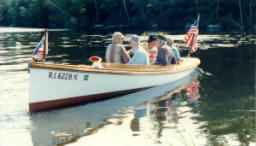
| A small
river boat |
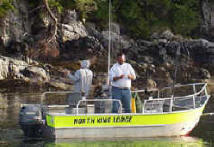
A
Fishing Boat |
| |
|
|
|

|
|
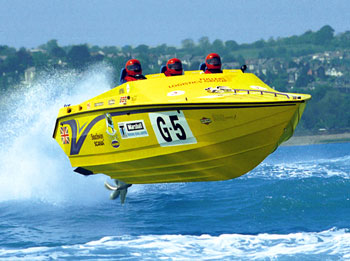
A Racing Speedboat |
A
Canal boat |
|

|
|
A
simple launch boat |
|
|
 |
|
A
Pontoon boat |
A simple Motorboat |
One of the first decisions you
will have make is what type of hull will your boat have.
Basic Hull Designs
The boat hull is the part of the
boat which is underwater. Hulls are either displacement hulls or
planing hulls. A displacement hull moves
through the water, while a planing hull is
designed to skim on top of the water and can travel at a much higher speed. Each
design has its limitations and advantages.
A displacement hull requires
very little power to move through the water. Large trawler yachts, fishing boats
and large sailboats are displacement hull boats. They can easily move through
the water with small, economical engines or sail power. They ride very
comfortably even in rough seas, but cannot go very fast.
As you increase speed, a
planing hull rides up on top of the water allowing the boat to travel at much
higher speeds. Unless the water surface is flat or nearly so, a boat with a
planing hull must be properly designed to prevent pounding with each wave.
Planing hulls require considerably more power for their size and are therefore
generally limited to fairly small craft.
Examples of the most common
hull designs are flat bottom, deep vee, round bottom and multi-hull.
|
Hull Shape
|
Illustration
|
Advantages
|
Disadvantages
|
|
Flat Bottom Hull
|

|
This planing hull
has a shallow draft. Good for fishing in small lakes and rivers.
|
Rides roughly in
choppy waters.
|
|
Deep Vee Hull
|

|
This planing hull
gives a smoother ride than a flat bottom hull in rough water.
|
Takes more power to
move at the same speed as flat bottom hulls. May roll or bank in sharp
turns.
|
|
Round Bottom
Hull
|

|
This typical
displacement hull moves easily through the water even at slow speeds.
|
Has a tendency to
roll unless it has a deep keel or stabilizers.
|
|
Multi-Hull
|

|
Another example of a
displacement hull, the multi-hull has greater stability because of its
wide beam.
|
Needs a large area
when turning.
|
For more information on hull
design
click
here
Investigation Task
2
For an example of this activity click
here
PLAN
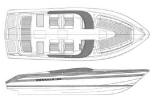
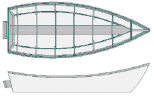
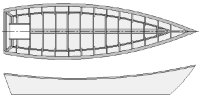
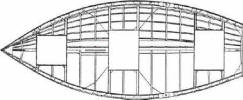
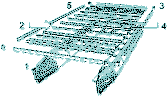
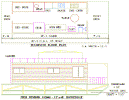
Next, you must design a boat to meet the purpose you have chosen.
Your designs must show the appearance of your boat from both above and
the sides.
Click for some examples -
Example 1 -
Example 2
You must also include the
expected measurements of the various design elements in your vessel.
Remember the more detail you put into your design, the easier it will be
when you come to building your boat. Your boat will be built from an A3
sized piece of polystyrene board, so your design must fit onto a single sheet of
A3 paper. As part of the design process, you will test your design by
building a paper version of your boat prior to making the real version. If
you find there are production problems during this design test you will have to
re-design your boat and test again.
|
 |
 |
|
 |
 |
|
 |
 |
|
Some
Professional Boat Designs |
CREATE
You will be doing your practical work in the
Gr. 6 Home
Rooms. The hull of your boat will be constructed from a polystyrene board
with a paper cover
A3 size (29.7cm x 40cm). You may choose from a variety of other clean, water resistant materials in the
construction of the superstructure of your boat, such a plastic, balsa wood,
cork or polystyrene.
Special care must be taken with the joining of the various parts, PVC glue and/or water resistant tapes may be used.
You must check with Mr. Adams
before
commencing the construction of your craft.
The
propulsion method will be via a battery powered submarine electric motor with a
propeller and adjustable rudder, made by the Tamiya company.
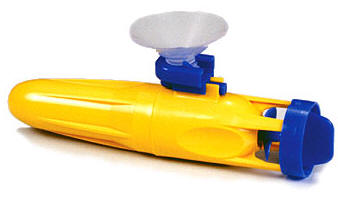
A tub or sink of water can be made available for some minor testing of ideas in
the class room.
The
main testing of your boat will be in the school swimming pool on two different days. The time
between the first and final testing is to give you time to make any adjustments
or improvements that may be necessary before the final demonstration.
PLEASE
NOTE: The environment must be respected,
so no dirty or water soluble materials
can be used which may pollute the pool.
Great
care must be taken in the construction of your boat so that no parts will fall off
and sink.
Before
boats can be placed in the pool for testing, they must be scrutinised.
When you have satisfied the scrutineers, you may test your boat in
the pool.
The final Boat Demonstration will be in the school
swimming pool.
We will invite some important people to this demonstration, such as Mr Searle
and Mr. Underwood. Please think about who else you would like to invite to
this important event and tell Mr. Adams who you want to come.
EVALUATE
Evaluation
is necessary in all technology projects. You must provide a thorough
evaluation of you boat by answering the questions below. Copy these
questions and paste them into a Word document. Type a detailed response for
each question. This evaluation and your journal must be submitted along with your original
designs and your boat for final assessment.
Evaluation
Questions:
1. What was the purpose and/or function of your boat?
2. In what way did this purpose effect your design?
3. Describe the type of hull did you chose for your boat
4. Why did you choose this type of hull??
5. Did you follow your original design, or did you make any changes?
Fully explain all of the changes you made to your boat from your original design,
including why you made these changes.
6. Does your boat fulfil its purpose?
7. What improvements can you suggest for your boat?
Fully explain all of the improvements you would make to your boat,
including why you would make these improvements.
Assessment
The
assessment will focus on the MYP Technology
Design Cycle
| Criterion A |
Investigate |
Maximum 6 |
| Criterion B |
Design |
Maximum 6 |
|
Criterion C |
Plan |
Maximum 6 |
| Criterion D |
Create |
Maximum 6 |
| Criterion E |
Evaluate |
Maximum 6 |
| Criterion F |
Attitudes in technology |
Maximum 6 |
Click
here for a detailed view of the
MYP Technology Assessment Criteria |


