Digital Image Manipulation
Adobe Photoshop Elements 2.0
Photos and Text
In this lesson, you will learn a little about the group with previous command and paste into function of Adobe Photoshop and get basic familiarity with Input/Output layers. The result will look something like this:
1. Open a photo that interests you.
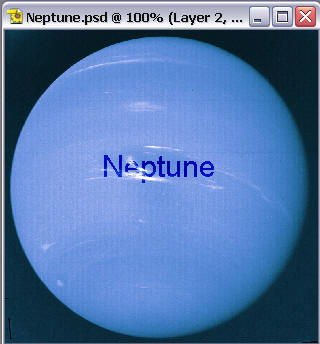
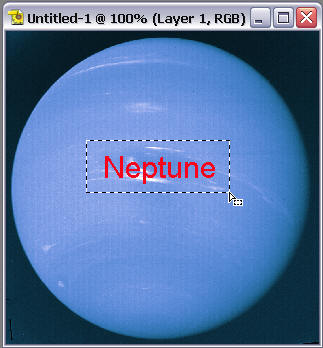
This is a photo of the Planet Neptune taken by the Voyager spacecraft and which appeared on NASA's Astronomy Picture of the Day website. If you would like to follow along, please open neptune. copy it and go to the File menu and choose New from Clipboard

2. Add a new layer to your picture. Now select the text tool. That's the T-shaped tool in the tools palette.
This is the text tool selected. It's the one shaped like a T:
Click on the photo where you want the text to appear and type Neptune

3. From the menu at the top of the screen, select the font, alignment and size you want and the attributes like bold or italic
Then type in what you want to appear. By the way, the foreground color by default will appear. For this exercise, it doesn't really matter what the color is, so don't worry about it, however, be careful in choosing a color when you're merely placing text on a page. Indeed, you might select a color by using the eye-dropper tool to select the appropriate one. The example below shows what we're doing to Planet Neptune.

4. Take the Arrow tool and move the word over the original image, as shown above.
5. In your layers palette, click on the background layer to select it.
6. Take the marquee tool at the upper left corner of your tools palette.
Select it, then cut an area slightly larger in size than the area the text covers from left to right and top to bottom. The marquee tool is the one selected in the below image:

This is how the copied selection looks on the page: (The word Neptune would appear here, but in the layers palette, an example of the layers palette is shown in step five, I've clicked on the eye shape next to the layer. This makes it invisible when the eye is not there. When I am finished making the selection, I'll simply turn the layer back on.)
7. Copy that selection.
8. Paste that selection.
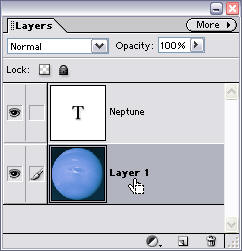
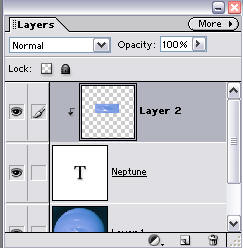
9. You should now have three layers in your layers palette.
10. You want your text layer (Neptune) to be lower than your copied layer.
So click drag on the text layer to just above the background layer. Do that in your layers palette, which now looks something like this:
<
11. Click on the third, copied layer to select it.
Put another way, click on the layer named Layer 2.
12. Under the layers menu, use group with previous (you can also hit command key G).

This applies everything in that copied layer to the shape of the layer beneath it. Accordingly, your text, in this case, should disappear. Your layers palette should look something like this at this point. Notice how the layer 2 -- the copied layer -- is over to the right showing it is grouped:
13. To make the text reappear, we must alter its appearance by lightening or darkening relative to the background.
Select the pasted layer -- Layer 2 -- by clicking on it. Then, under Enhance, select the Adjust Brightness/Contrast submenu and then select Levels and this dialog box will appear:
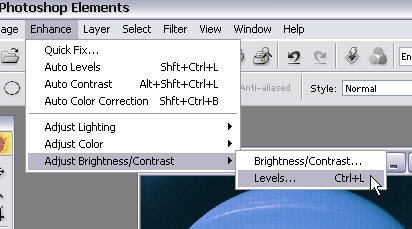

14. Make the channel RGB (adjusting other channels could provide some different effects worth exploring.) Make the input levels darker by sliding the far left arrow to the right. Make the output levels darker by moving the right arrow to the left, according to your taste. The result should be text darker than the background. (Do the opposite for lighter text.)
Notice how the text looks as if it is part of Neptune itself. The clouds shine through, just more brightly:
Task: Do this same exercise of Photo-like Text with four (4) different pictures.
Here are some more examples: