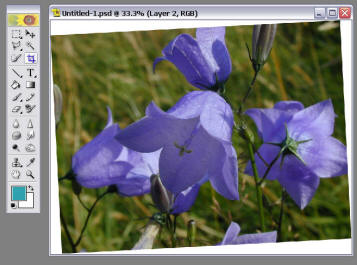
Once you have an image in Elements it will be displayed in it's own window. There are a few basic skills you might need:
Once you understand these basic actions, Elements will be a lot easier for you.
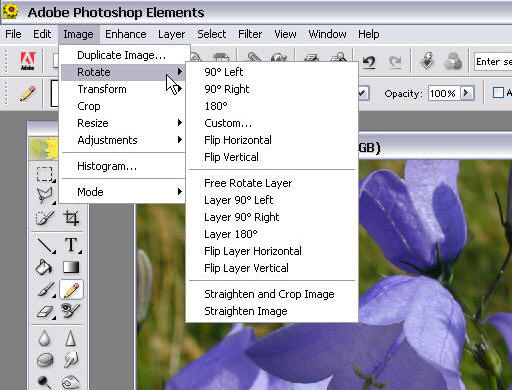
You can rotate a picture by going to the Image menu, Rotate and then choosing one of the many rotation options.
To crop a picture, use the cropping
tool  from the toolbox. Click the tool
on the picture and drag out a box. Inside the box will be the part of the
image you will keep - everything else will be deleted. You can resize this
cropping box by using the handles on the corners and sides. When you are
ready double click the mouse inside the cropping box.
from the toolbox. Click the tool
on the picture and drag out a box. Inside the box will be the part of the
image you will keep - everything else will be deleted. You can resize this
cropping box by using the handles on the corners and sides. When you are
ready double click the mouse inside the cropping box.

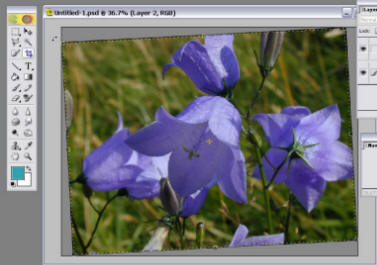
The Photoshop Elements Cropping box
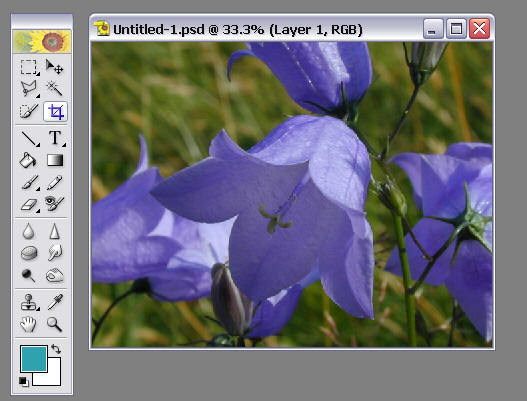
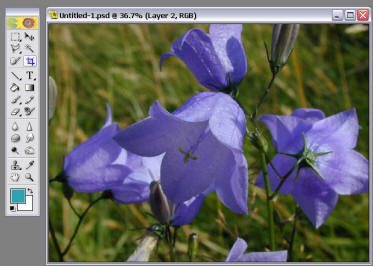
The result - a cropped photograph
The cropping tool can also be used to
straighten a crooked image. Click and drag the cropping box around the
outside edges of the photo. If you watch the mouse pointer carefully, you
will see it changes when you are near the corners to a rotating cursor.

|
|
 |
 |
|
Crooked Image |
Cropping box around the edges |
Finished image - straightened |
Another quick and simple way to do this, is to use an automatic feature in Photoshop Elements. Go to the Image menu, choose Rotate and then choose Straighten and Crop Image.

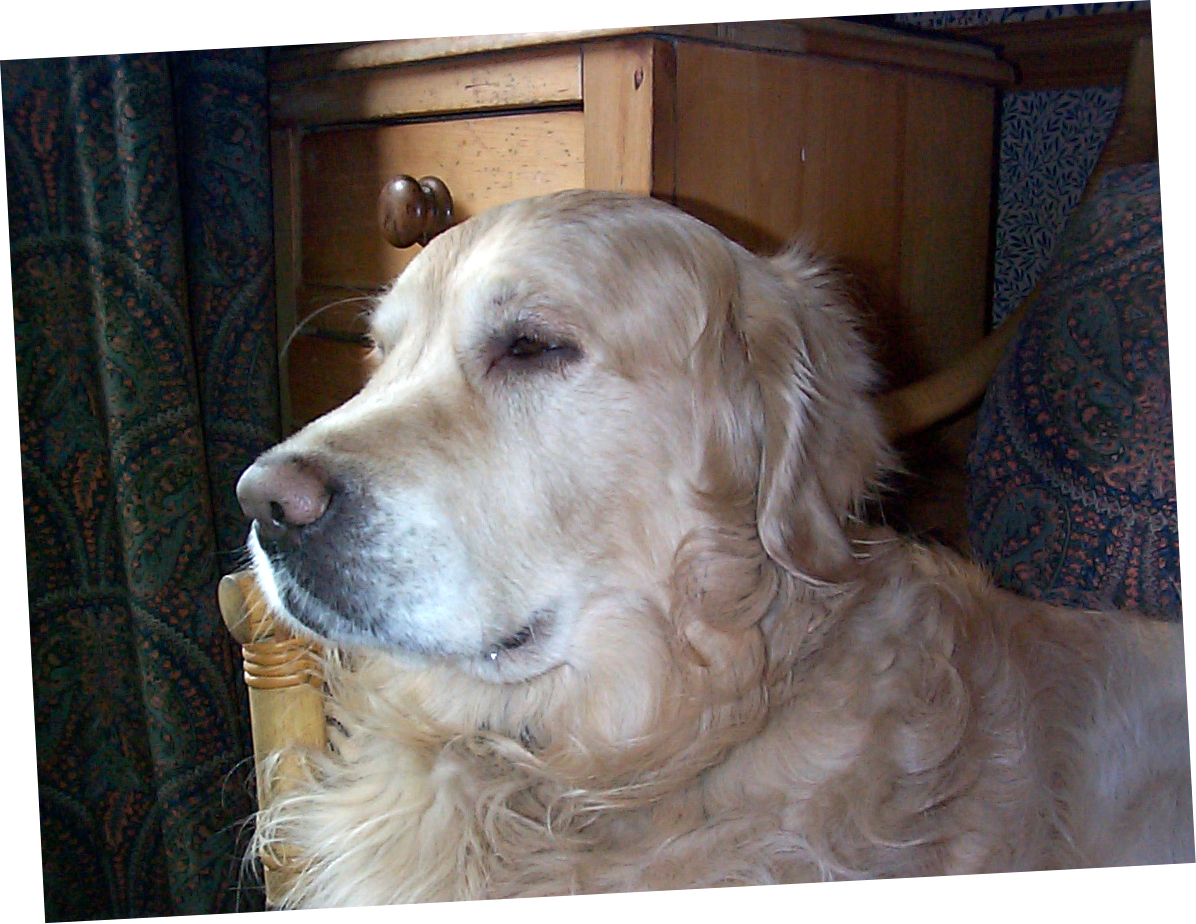
Exercise: Click the thumbnail below - copy the photo into Photoshop Elements and use the Rotate control to straighten it.
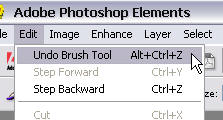
With so many functions available, it is very likely that occasionally you will want to a reverse an action that you have done. Photoshop Elements provides several methods to achieve this.
Hold down the Ctrl (control) key and press the Z key
Go to the Edit menu and choose Undo
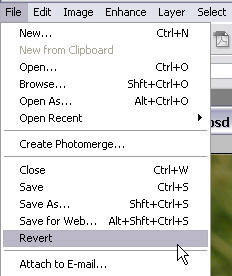
If you are unhappy with everything you have done and want to go back to the way things were we you last saved your image, use the Revert function. Go to the File menu and choose Revert.
The Undo History palette provides complete control over the alterations made to your images. Each action is recorded as a separate step in the palette. This palette is like a time machine - it allows you to step backward and forward through the actions you have taken.

Images can be viewed at different magnifications within Elements. There are many ways to zoom in or zoom out
 from the toolbox. Clicking on the
image will zoom in , to zoom out, hold the Alt key on your keyboard while
you click on the image.
from the toolbox. Clicking on the
image will zoom in , to zoom out, hold the Alt key on your keyboard while
you click on the image.The navigator is very useful when you are working on an image which is larger than your screen or for when you zoom in very close.
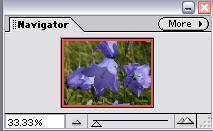
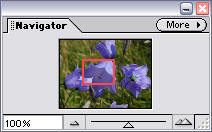

To see the Navigator go to the Window menu and
choose Navigator 
To navigate around a picture, use the mouse to move the Red square around the picture - whatever is inside the red square is what is showing on the screen.

Elements contains a Print Preview command. This will allow you to check your printouts before sending them to the printer. Go to the File menu and choose Print Preview... or use Ctrl-P
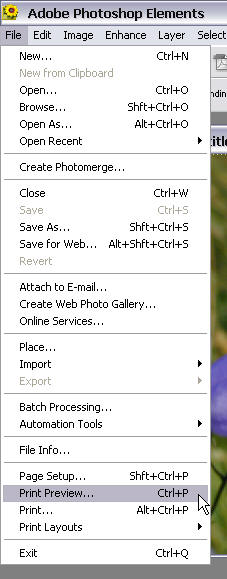
Please use the Print Preview option before printing. To print in colour in the 3rd floor lab, you must ask Mr Whitmore.
Saving with Photoshop Elements is much like other programmes. Go to the File menu and choose Save or use Ctrl-S, then direct the computer to save your work into your student NAS01 file.
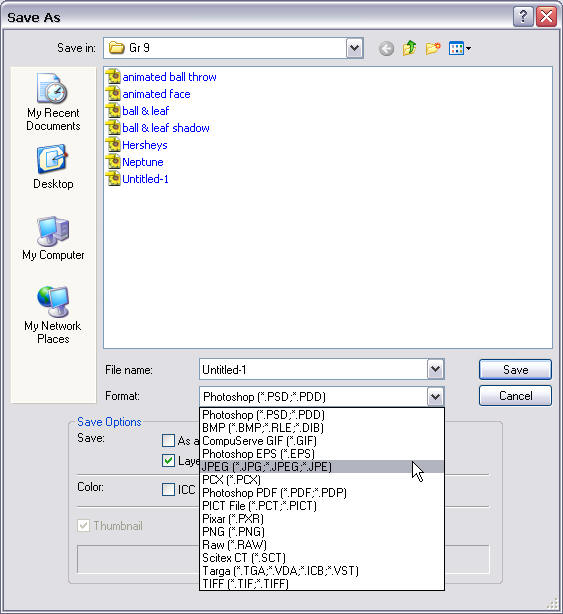
When Photoshop saves an file it saves it in a format called PSD (PhotoShop Document). A PSD file will only open in Photoshop (or other Adobe programmes like Illustrator). If you intend to use your image in other programmes like MS Word or Excel or Publisher or even on a web page, then you should save it in another more common file format, such as JPG. To do this got to the File menu and choose Save As. Name your file and direct it to your folder as per usual, then go to the Format box and change to JPEG. Then click save.