Basic image changes fall into two categories - adjustment and enhancement. Image adjustment is mainly concerned with ensuring that the details contained within a picture are presented in a way that is most accurate. This usually means making sure the colour balance is correct, that the brightness and contrast are OK.
Image enhancement on the other hand, deals with techniques designed to emphasize some some specific element of a picture or perhaps to de-emphasize it.
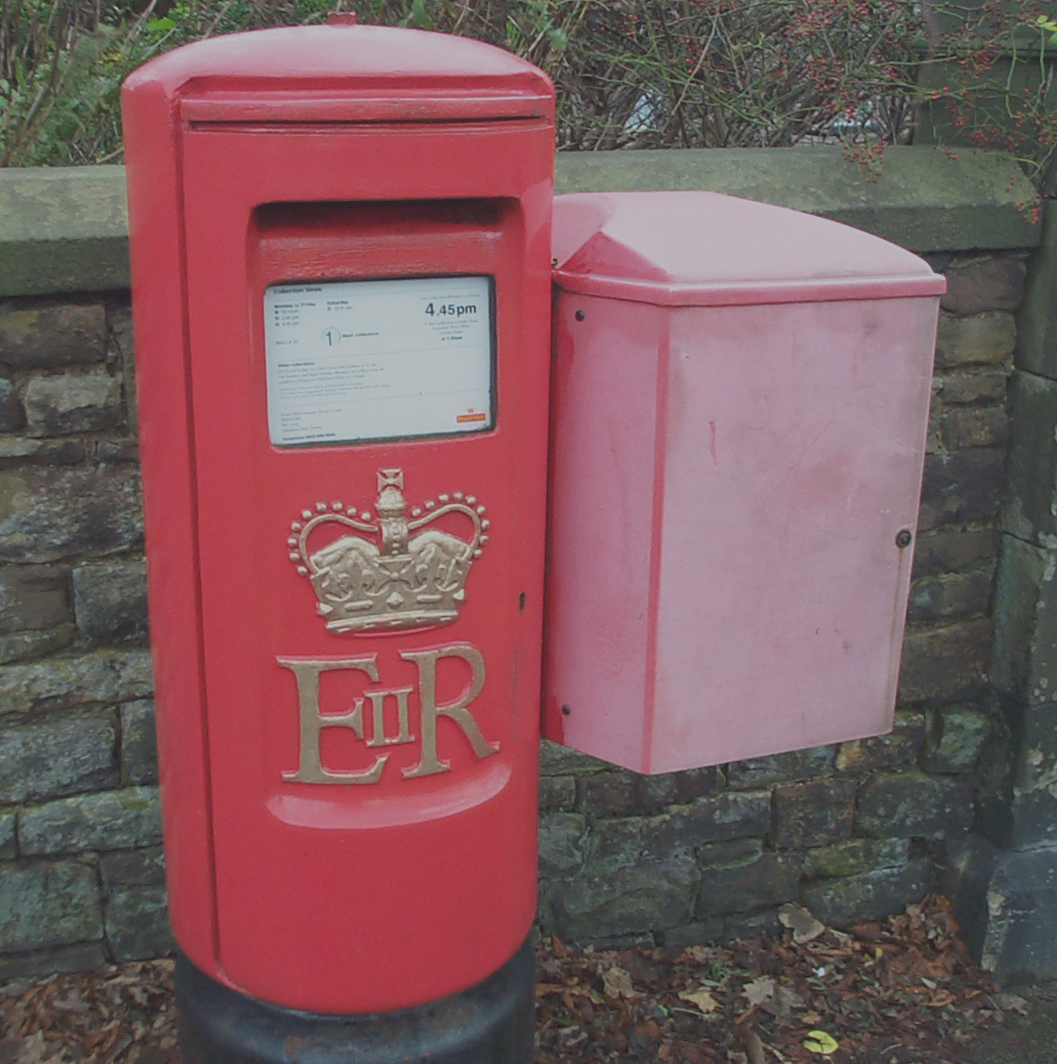
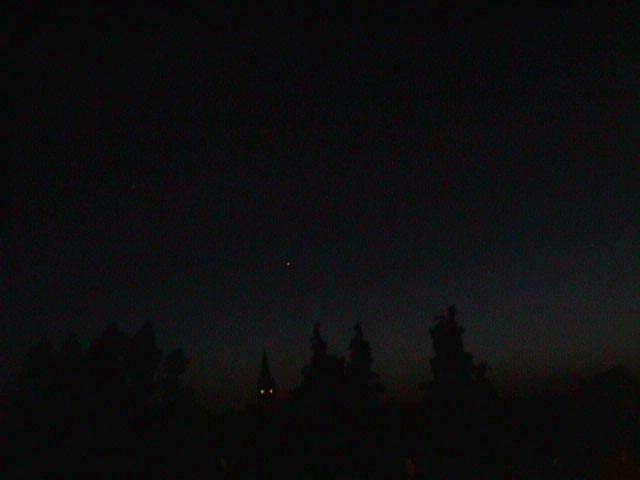
In a correctly exposed image with good brightness and contrast the image will be balanced - that is not too dark and not too light. If an image is underexposed it will appear dark on the screen. In contrast images that are overexposed will appear too light
An image like the one above will have a balance of dark and light

An underexposed image like the one above will appear dark on the screen
An overexposed image appears too light
The Brightness/Contrast command helps you make basic adjustments to the lightness of an image. Go to the Enhance menu and choose Adjust Brightness/Contrast and then Brightness/Contrast
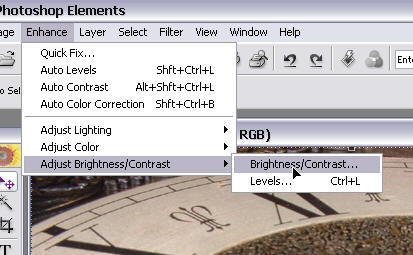
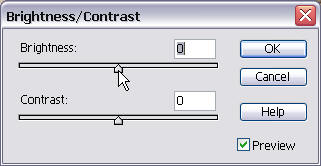
Adjustments are made by moving the arrow slides left or right - click OK to finish
Exercise: Click the thumbnail below - copy the photo into Photoshop Elements and use the Brightness/Contrast control to make adjustments.

The Auto Contrast command can be used as an alternative to the brightness/contrast controls. The software will assess all the aspects of the image and set up a balanced range of light and dark. Auto contrast works particularly well with photographs.
Go to the Enhance menu and choose Auto Contrast
Exercise: Click the thumbnail below - copy the photo into Photoshop Elements and use the Auto Contrast to adjust the contrast.
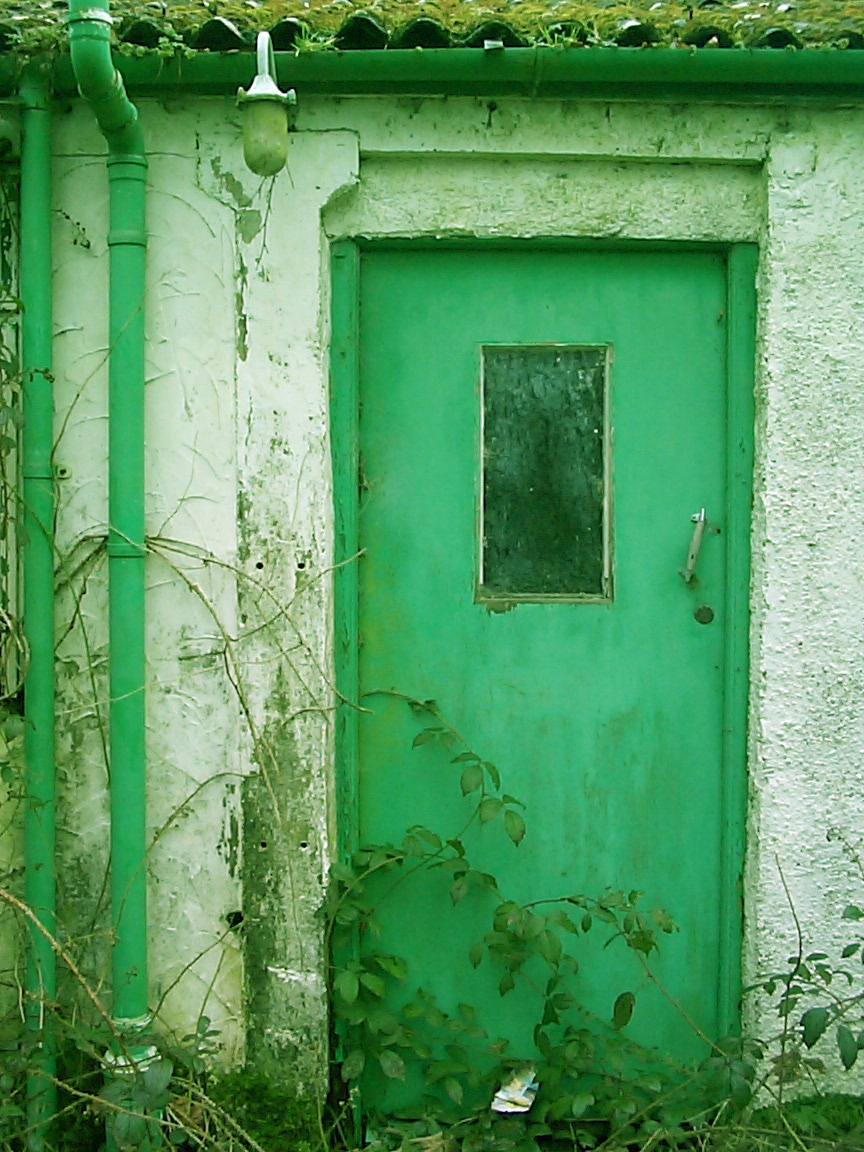
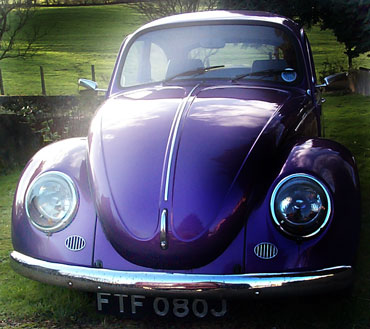
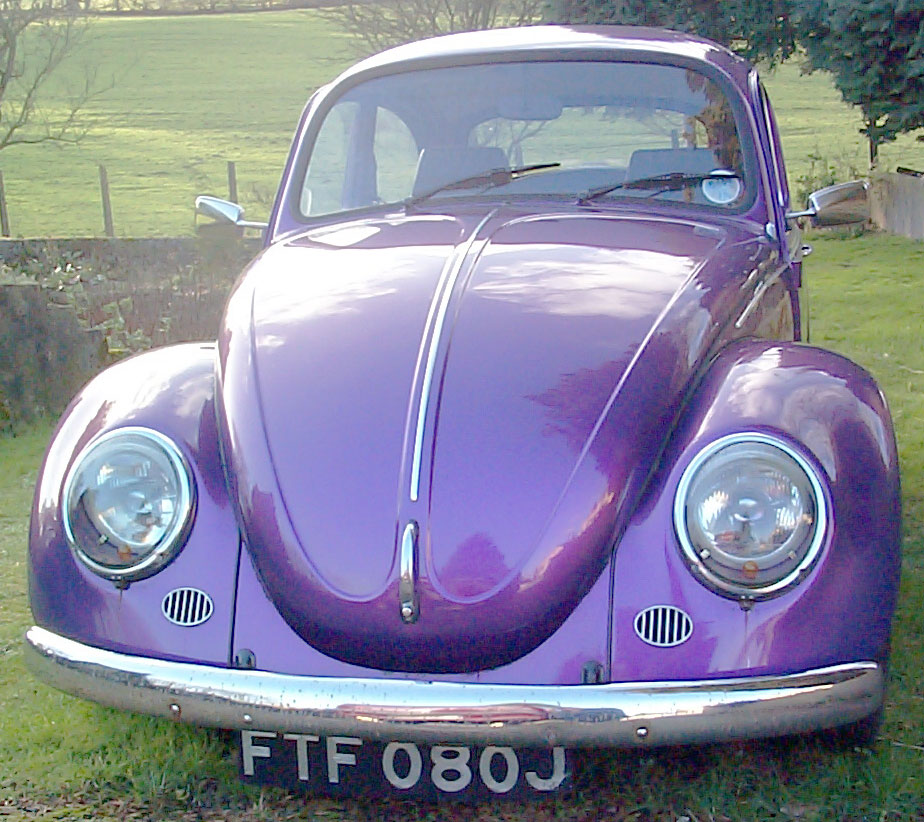
The Auto Levels command is similar to Auto Contrast in that it automatically adjusts elements of an image, in this case Auto Levels makes adjustments to the colour balance, ensuring that no one colour dominates the others. Auto Levels does not always make for a natural look, so if you are not happy with the results of Auto Levels, use the undo command to reverse the action and try another adjustment technique.
Go to the Enhance menu and choose Auto Levels

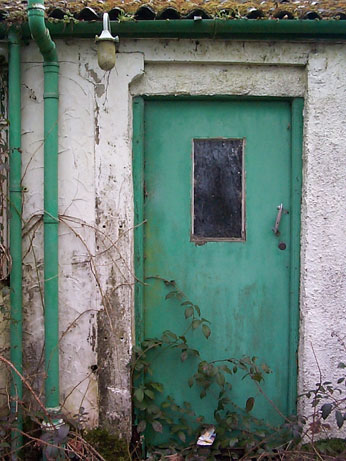
Exercise: Click the thumbnail below - copy the photo into Photoshop Elements and use the Auto Levels to adjust the green to a more natural look.
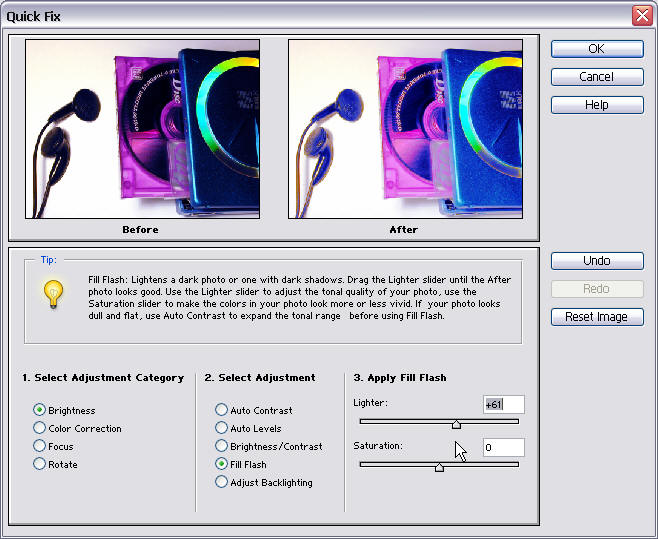
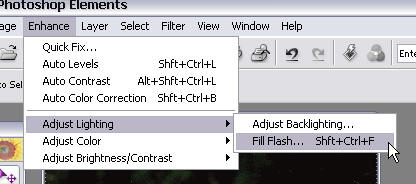
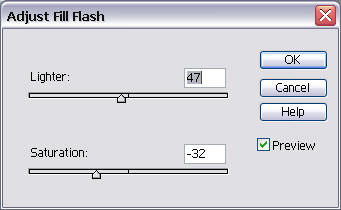
Sometimes, photographs are dark or overly complicated which can mean that some important detail is lost or hard to notice. Professional photographers use a technique called a Fill Flash to put extra light on an important aspect to make it more noticeable. Photoshop has a tool which replicates this traditional technique. You can use Fill Flash to enhance your photographs and lighten important details.
Go to the Enhance menu and choose Adjust Lighting and then choose Fill Flash.
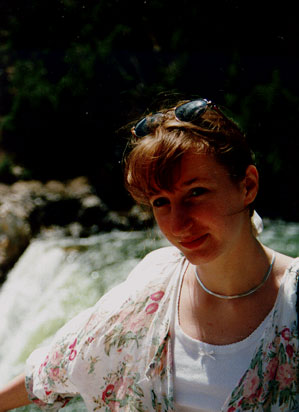
Move the lighter slider to change the image tones
Move the saturation slider to increase or decrease the colour strength
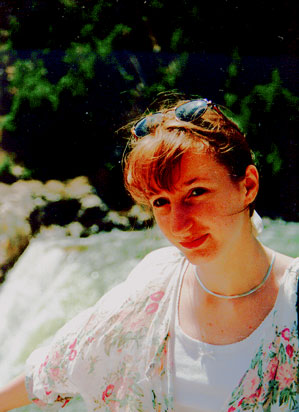
Exercise: Click the thumbnail below - copy the photo into Photoshop Elements and use the Auto Levels to adjust the light

Dodge and Burn tools have been traditional techniques used by photographers for many years - long before they had computers to work on. Photographers used Dodging (making a small section of a photo lighter) and Burning (making a small section of a photo darker) to enhance the look of their images.
The Dodge tool
 and the Burn tool
 are in the toolbox. When you select
either of these you will notice that the cursor changes to a circle. You
then can click and drag over the image to either lighten (dodge) or darken
(burn).
are in the toolbox. When you select
either of these you will notice that the cursor changes to a circle. You
then can click and drag over the image to either lighten (dodge) or darken
(burn).
You can change the size of the circle by altering the brush size and shape

Skillful dodging and burning can help improve the appearance of photographs.

Before and After
Exercise: Click the thumbnail below - copy the photo into Photoshop Elements and use the Dodge and Burn tools to adjust the light
Dodging and Burning can also be used to completely alter a photograph. Here is a challenge for you. Take a copy of the first two photos - the hot air balloon in day time and the night sky - can you combine them into one image like the third photo below using the tools of Photoshop Elements?


The Color Variations tool gives the user more control over colour changes in the image.
Go to the Enhance menu and choose Adjust Color and then choose Color Variations.

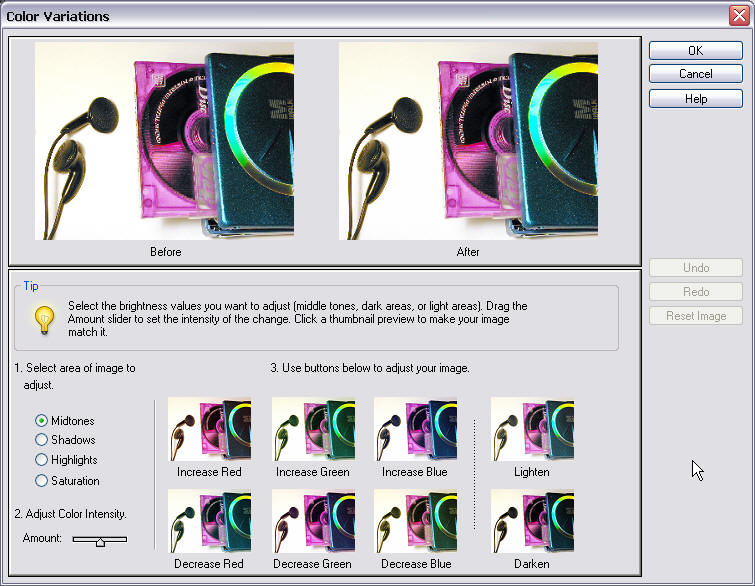
The Color Variations box gives you Before and After thumbnails plus controls to increase or decrease colour strength or intensity as well as brightness.
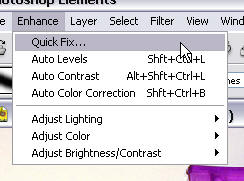
The Quick Fix multi-dialog provides all your regularly used menu sections in one easily accessed place. It has an image adjustment category, adjustment type and adjustment controls.
Go to the Enhance menu and choose Quick Fix.