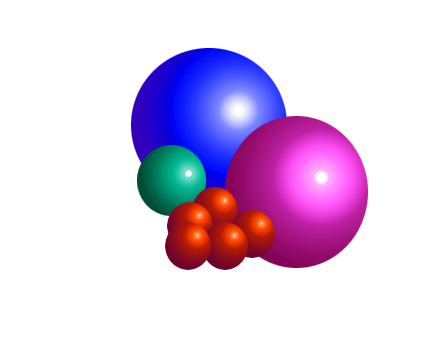
Digital Image Manipulation

Adobe Photoshop Elements 2.0

Creating

Shaded Spheres

in

PhotoShop Elements 2.0

Creating shaded spheres is quite easy, the only tricky part is creating the gradients.
1. Open a new file and create a new layer.  Name the layer Base Sphere


2. Click the Gradient tool in the tool box.   
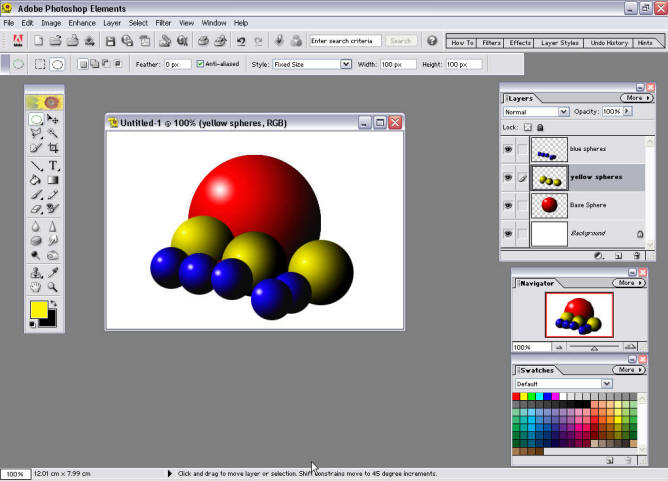
On the gradient tool bar, open the drop down box


3. Choose the Foreground to Background gradient (usually in the top left corner)
4. Choose the Radial Gradient

Then click inside the gradient display to bring up the Gradient Editor

5.  In the Gradient Editor  you have to make a few adjustments as shown here.
6.  Take the Elliptical Marquee tool from the tool box .  Draw a circle on your page.
7. Click the Gradient tool in the tool box.   Move into your circle, click and drag the mouse to the outer edge of the circle and let go.
8.  If you are happy with the result, go to the Select menu and choose Deselect.  

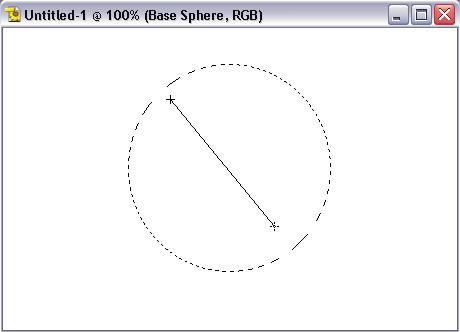
If you are not happy with the effect, just click and drag again over the top of the blue sphere and you can redo the effect.

If you want to change the appearance or colour of the gradient go back to steps 4 and 5.

9. Finally, to make a effective group of coloured spheres, it is best to do each sphere on a new layer.  So before you do another sphere, add a new layer in the layers palette.
     

TASK:

Create an interesting design using a variety of spheres