Creating Embossed Typing like this Chocolate Effect
2. Now go to the Edit menu and choose Fill. Select Foreground colour, Normal and 100%.

Creating Embossed Typing like this Chocolate Effect |
|
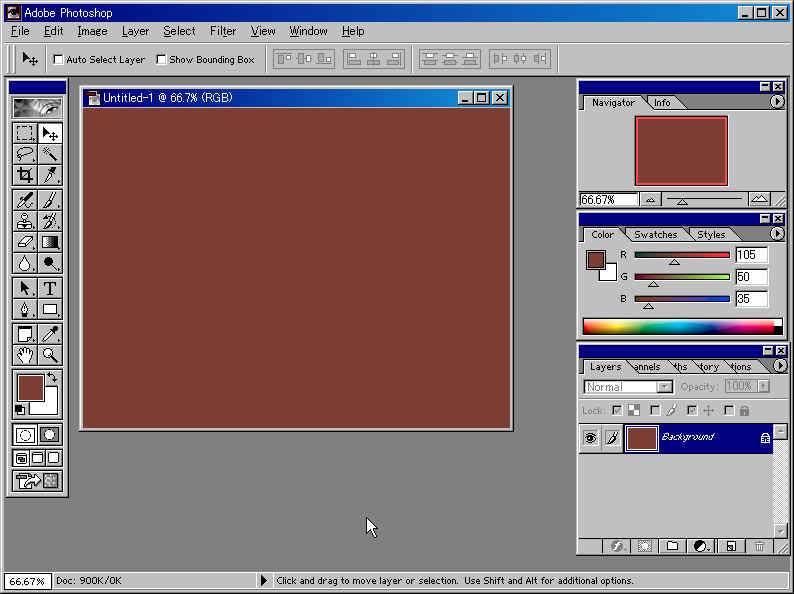
| 1. Create a new file and create a
realistic background colour for chocolate. Click on your colour
palette and make your colour settings as follows: Red 105, Green 50 and
Blue 35.
2. Now go to the Edit menu and choose Fill. Select Foreground colour, Normal and 100%. |
|
You should have a screen like the one below
| 3. Choose the Type tool |
|
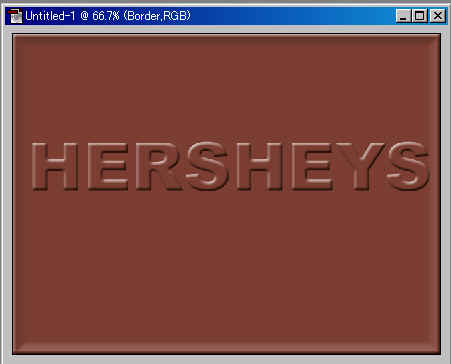
| 4. With the Type layer selected, choose the Layer
menu, select Layer Style and then Bevel and Emboss.
Don't worry about the other settings here too much, you can go back and adjust them later if you want to. |
 |
| 5.Create a new layer (Shift +Ctrl+N) and call it Border |  |
| 6. Got to the Select menu and choose All.
Then go back to the Select menu, choose Modify and Border.
Put in a border size which is double what you think you'll
need.
Start with 20 and you can always change it later if it is not what you want. Click OK |
 |
| 7. Go to the Edit menu and choose Fill.
Fill the border with Foreground color
Now go to the Layers palette, and set the Border layer to Hard Light. |
 |
| 8. Right Click on the Type layer in the layers
palette. Choose Copy Layer Style. Now Right Click the
Border layer. Choose Paste Layer Style.
That's all there is to it. Time to Save your work |
 |
| If you want to change some of the settings or do some
experimenting. Double click the |
 |
|
TASK: |
Once you have finished the Chocolate effect, do another effect using different colours. |