
For the Yearbook this year, each OIS Senior gets 1/2 of a page to make your mark in the your final school yearbook. In the past this has usually been by creating a collage of photographs. To create this page you will need to collect some photographs, either digital or printed (which you can scan - see the instructions at the bottom of this page), and set them out on your section using Adobe Photoshop CS (or Elements version in the 3rd floor labs or some of the laptops). Here are some instructions to help you through this process.
Finding Your Yearbook Section
The Yearbook files are on NAS01 in the Publication folder
You can click here and it should open this for you or else follow the steps below:
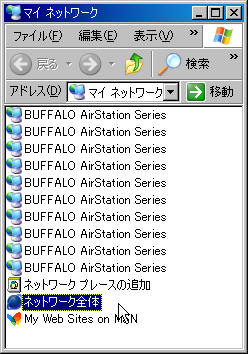
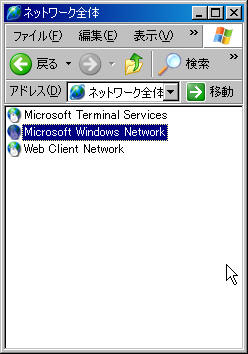
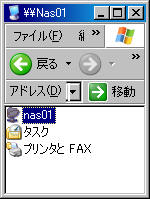
Double click マイ ネットワーク My Network (In case you don't know yet, the computers in the MM lab have only a Japanese version of Windows)
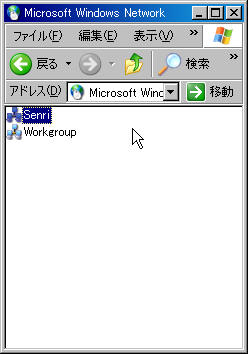
Now go to NAS01
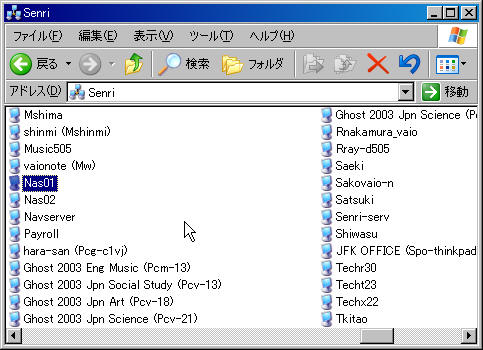
Find the Publications folder and open it
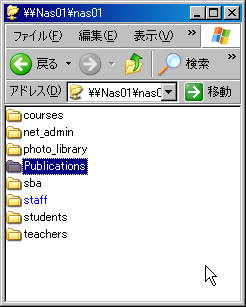
Open the Yearbook 2004 2005 folder
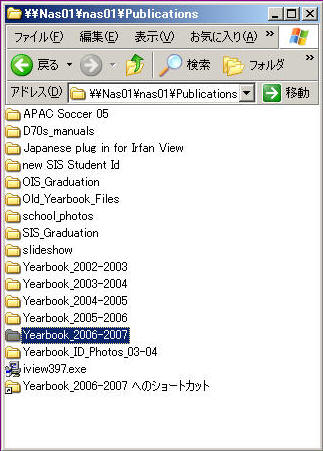
Open the all_photos folder
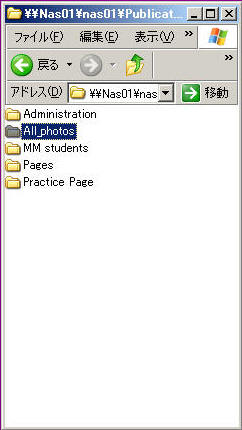
Open the OIS_Senior_Sections folder
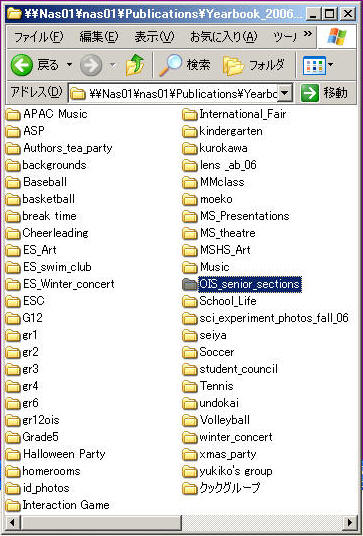
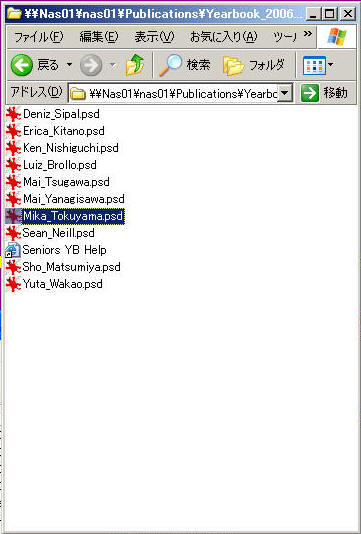
Now find your section (it has your name) double click this file to open it in Adobe Photoshop CS (BTW if you are in the 3rd floor labs or using a school laptop it will open in Adobe Photoshop Elements which is almost as good as the version in the MM lab)
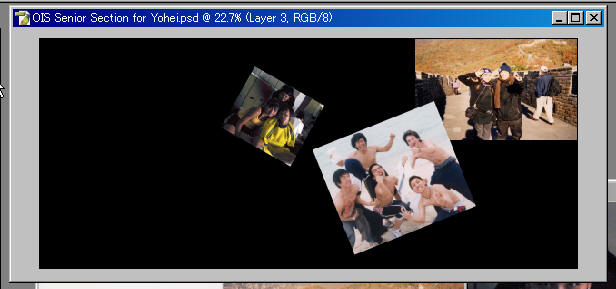
It should look something like the screen shot below
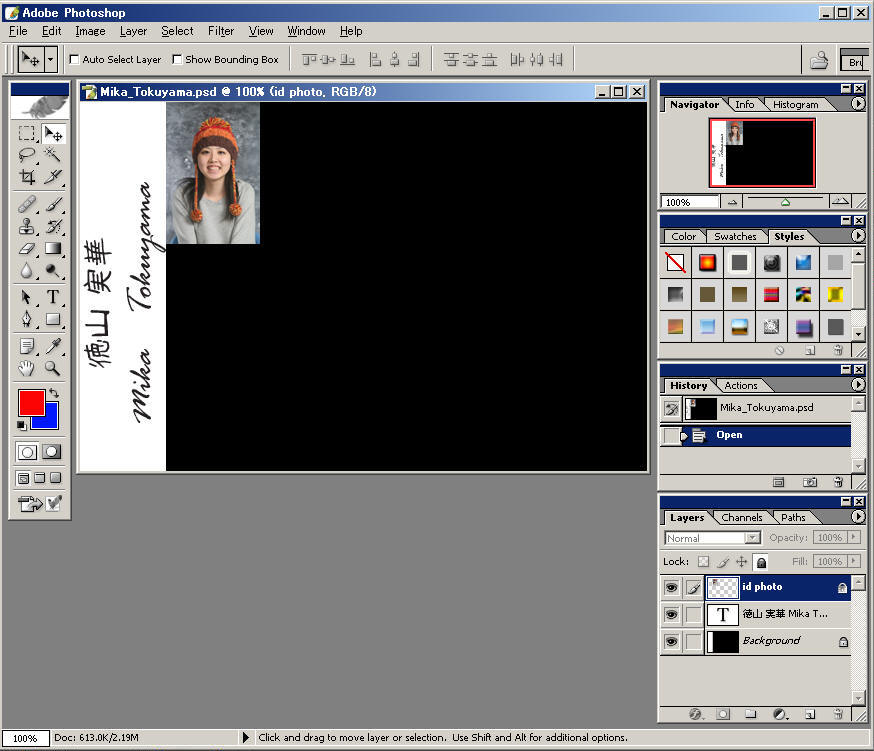
Now you can add photos by dragging them from folders, or copying them from the web or scanning them using the scanners in the MM Lab. (Instructions below)
Scanning Photographs
Scanning photos is easy. There are four scanners available in the MM lab. Make sure you are sitting at a computer with a scanner attached to it. (I know that sounds obvious but you'd be surprised how many people try to scan when they have logged into the wrong computer!!)
Lift the scanner cover and place the photograph(s) face down - you can scan more than one picture at a time. In many ways a scanner is just like a photocopier.
There are many types of software that will work with a scanner, but for this task I recommend that you use Adobe Photoshop CS
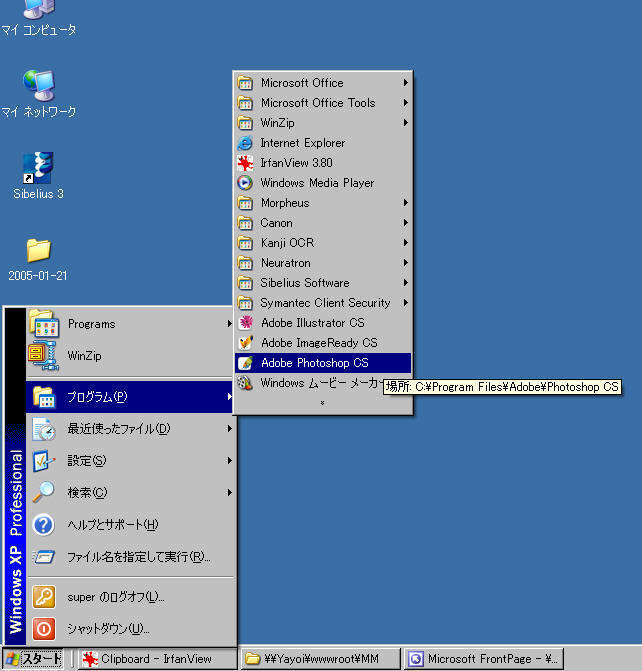
Click the START menu, go to Programs, then Adobe Photoshop CS (You may already have this program running from earlier)
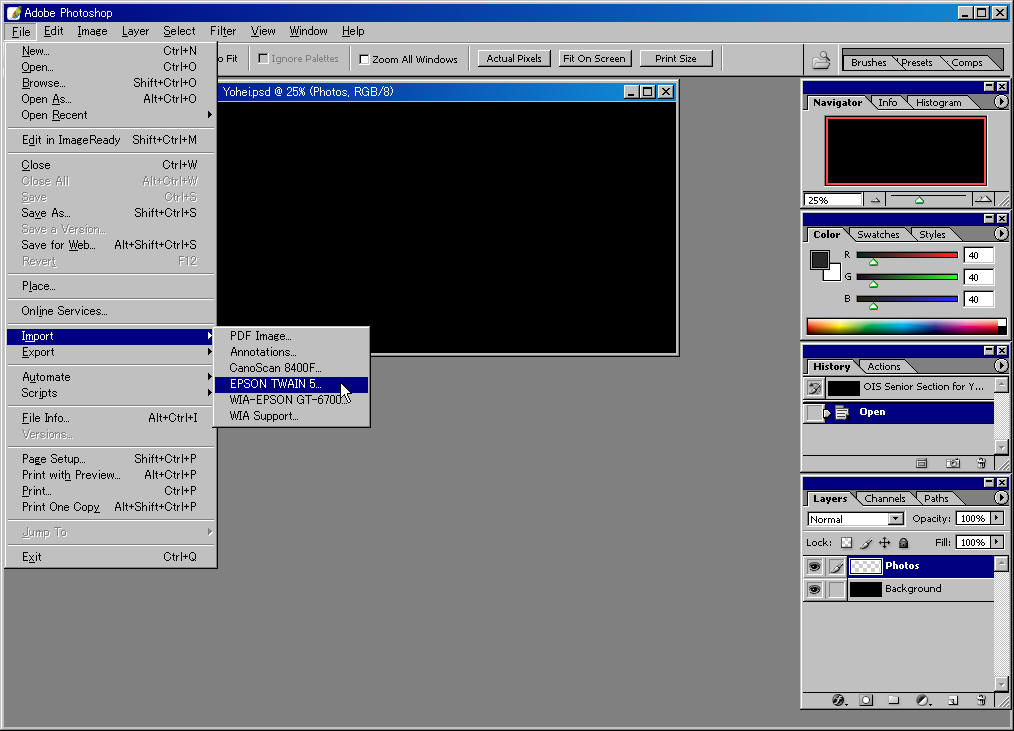
Once you have Photoshop running, open the File menu, go to Import, and then click EPSON TWAIN 5... or CanoScan (if you are using the one Canon scanner we have)
Now wait while the scanner goes to work... it takes a minute or two, so be patient. Eventually you will get a control window like this.
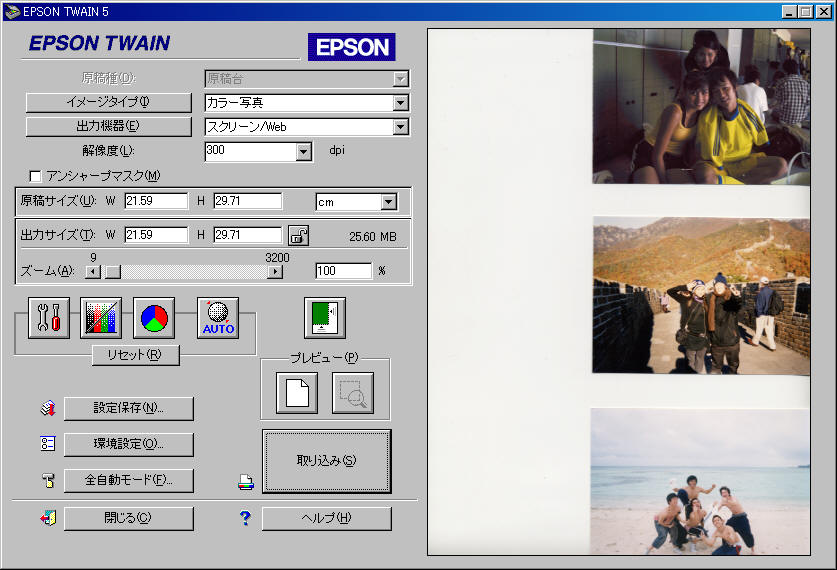
If it all looks OK, the pictures are
straight, etc.. click the scan button 
Of course, if you only wanted to scan only one picture you could use the mouse to draw a box around the pic you want before clicking scan.
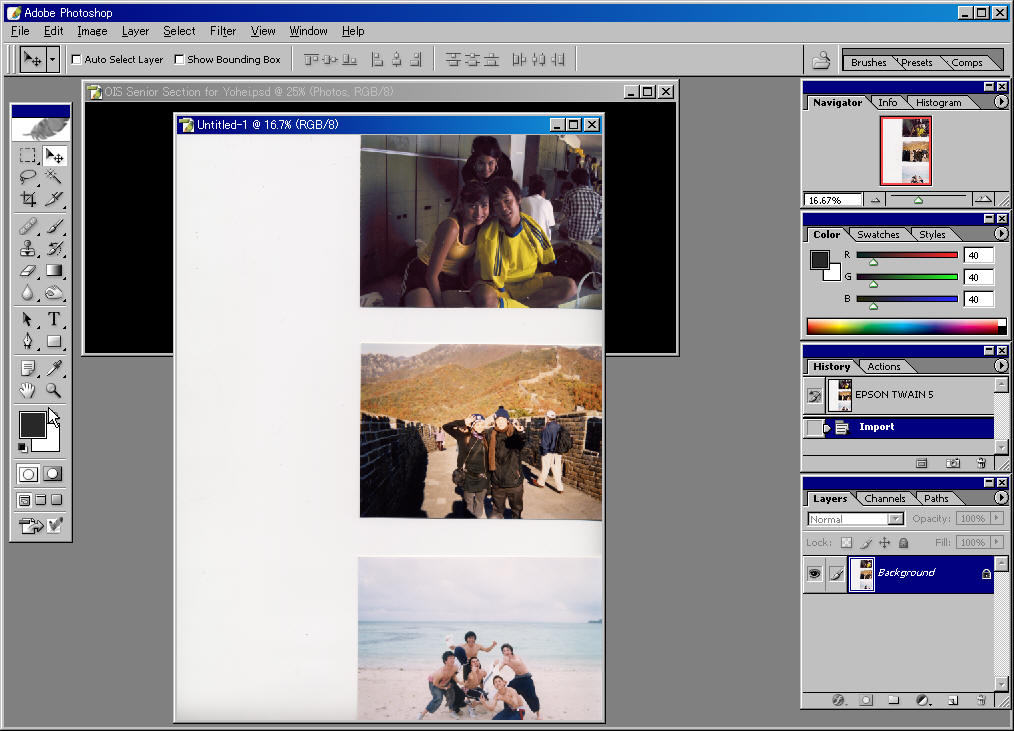
Now wait again while the scanner goes to
work... it takes a minute or two, so be patient. Eventually you will get
your photos in Photoshop. If it all looks OK, then click the close
button ![]() , otherwise, you could scan again.
, otherwise, you could scan again.
Working with Photoshop
There are hundreds (maybe thousands) of things you can do to a picture in Photoshop... but for the yearbook I want to show you just a few important ones.
Selecting a Small Part of a Scanned Photograph
Take the marquee tool (dotted square) ![]() from the tool box and draw a box around the part of the photo you want.
from the tool box and draw a box around the part of the photo you want.
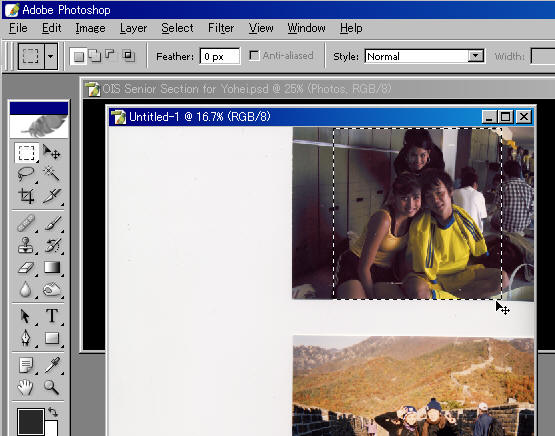
Now copy this, (press ctrl-c or go to the Edit menu and choose Copy)
Click on your Yearbook Section and paste the copied part (press ctrl-v or go to the Edit menu and choose Paste)
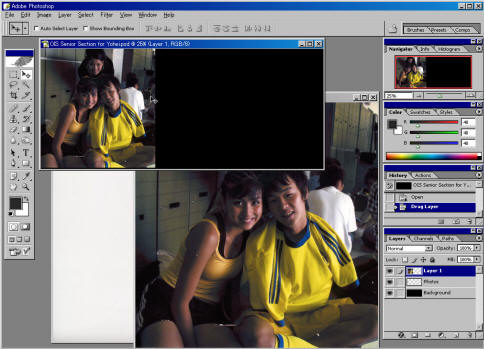
You can now resize it to the size and position you want
Go to the Edit menu, choose Free Transform
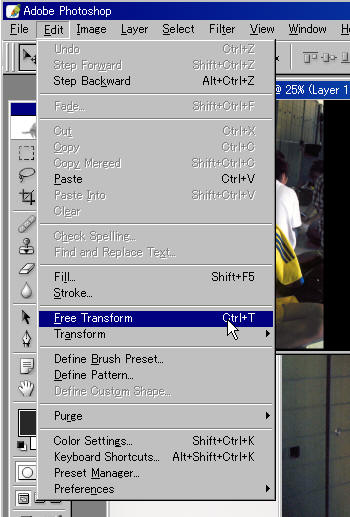
You can now shrink, or stretch, move or rotate the picture.
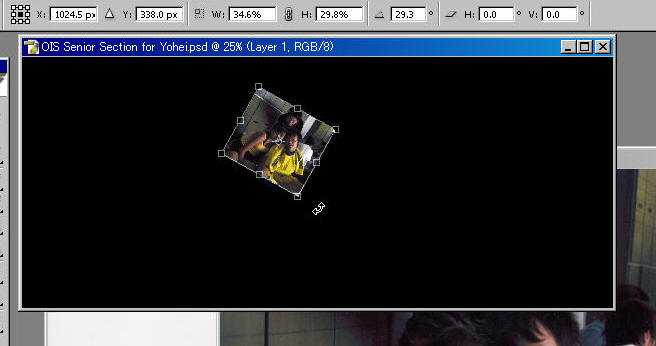
When you are happy with the picture, click
the Move tool  again.
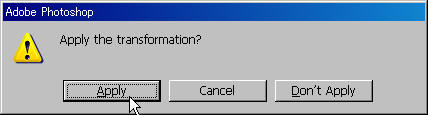
Click apply to lock the picture in place.
Continue building up your Yearbook section with images.
You don't need to save any scanned photos that you have already placed onto the section as they will be already saved on that page
Get some photos, scan them, copy them onto your yearbook section and arrange them.