-
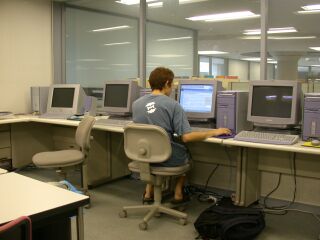
Switch on the computer and log in to the network as
usual.
-
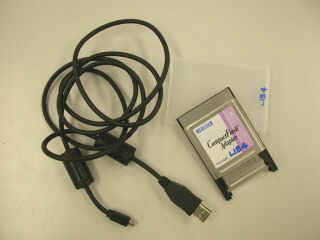
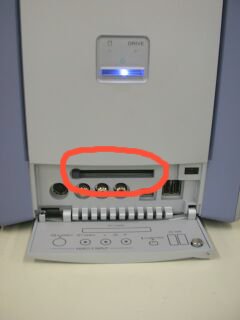
Find the PC Card slot on your computer. Most new
computers will have one on the front, usually at the bottom. N.B. some
older computers do not have this adapter slot..
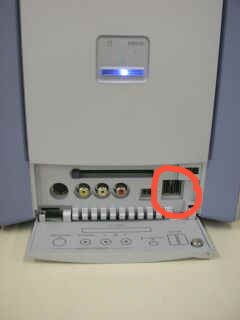
The adapter slot on this computer is behind the door at
the bottom of the front face.
|
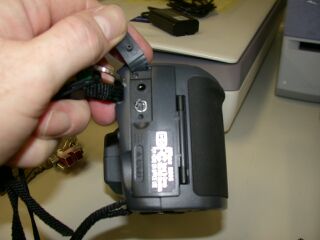
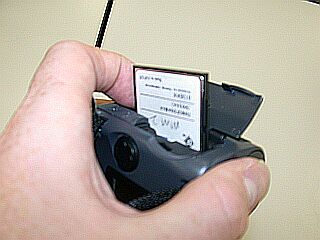
3. Open the card door, lift the eject button and press it
down to eject the flash card
|
|
4. Carefully remove the flash card from the camera
|
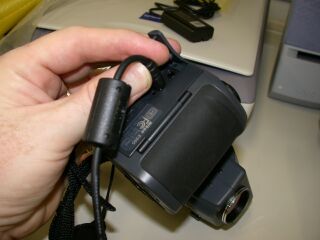
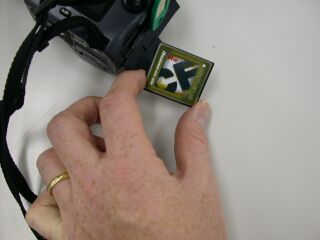
5. Slide the flash card into the adapter in the direction
of the arrow
|
|
6. Insert the card all the way into the adapter
|
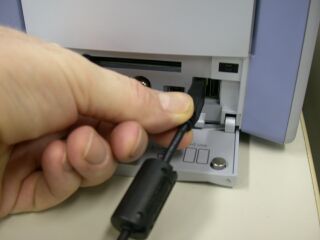
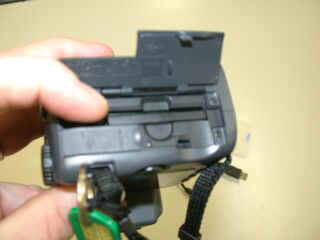
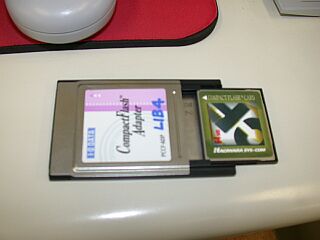
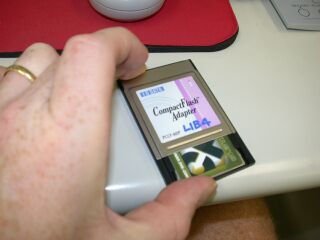
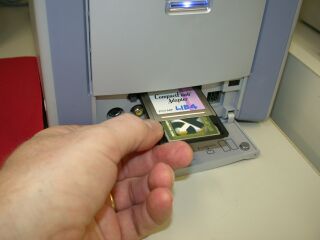
7. Carefully insert the adapter all the way into the slot.
Listen carefully for the sound from the computer that it has recognised
the card has been inserted. If you do not hear the sound, remove the
card and reinsert it.
|
|
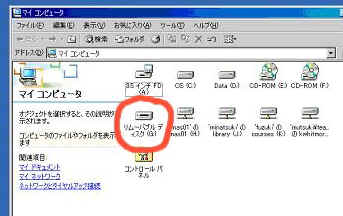
8. Double click "My Computer"
and look for the icon of the camera. It will be called
"removable drive"
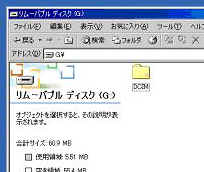
|
9. Double click "DCIM"
|
|
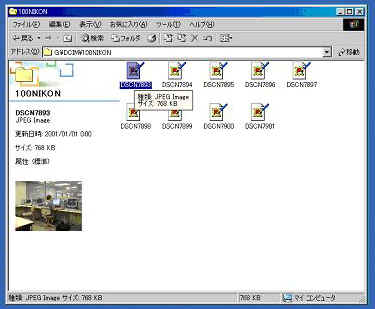
10. Double click "100Nikon"
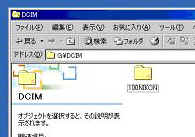
|
11. You should now be able to see your picture files.
These can now be opened or copied into files on the network. If they
are pictures for the yearbook put them on NAS01/publications and in the Yearbook
folder
|